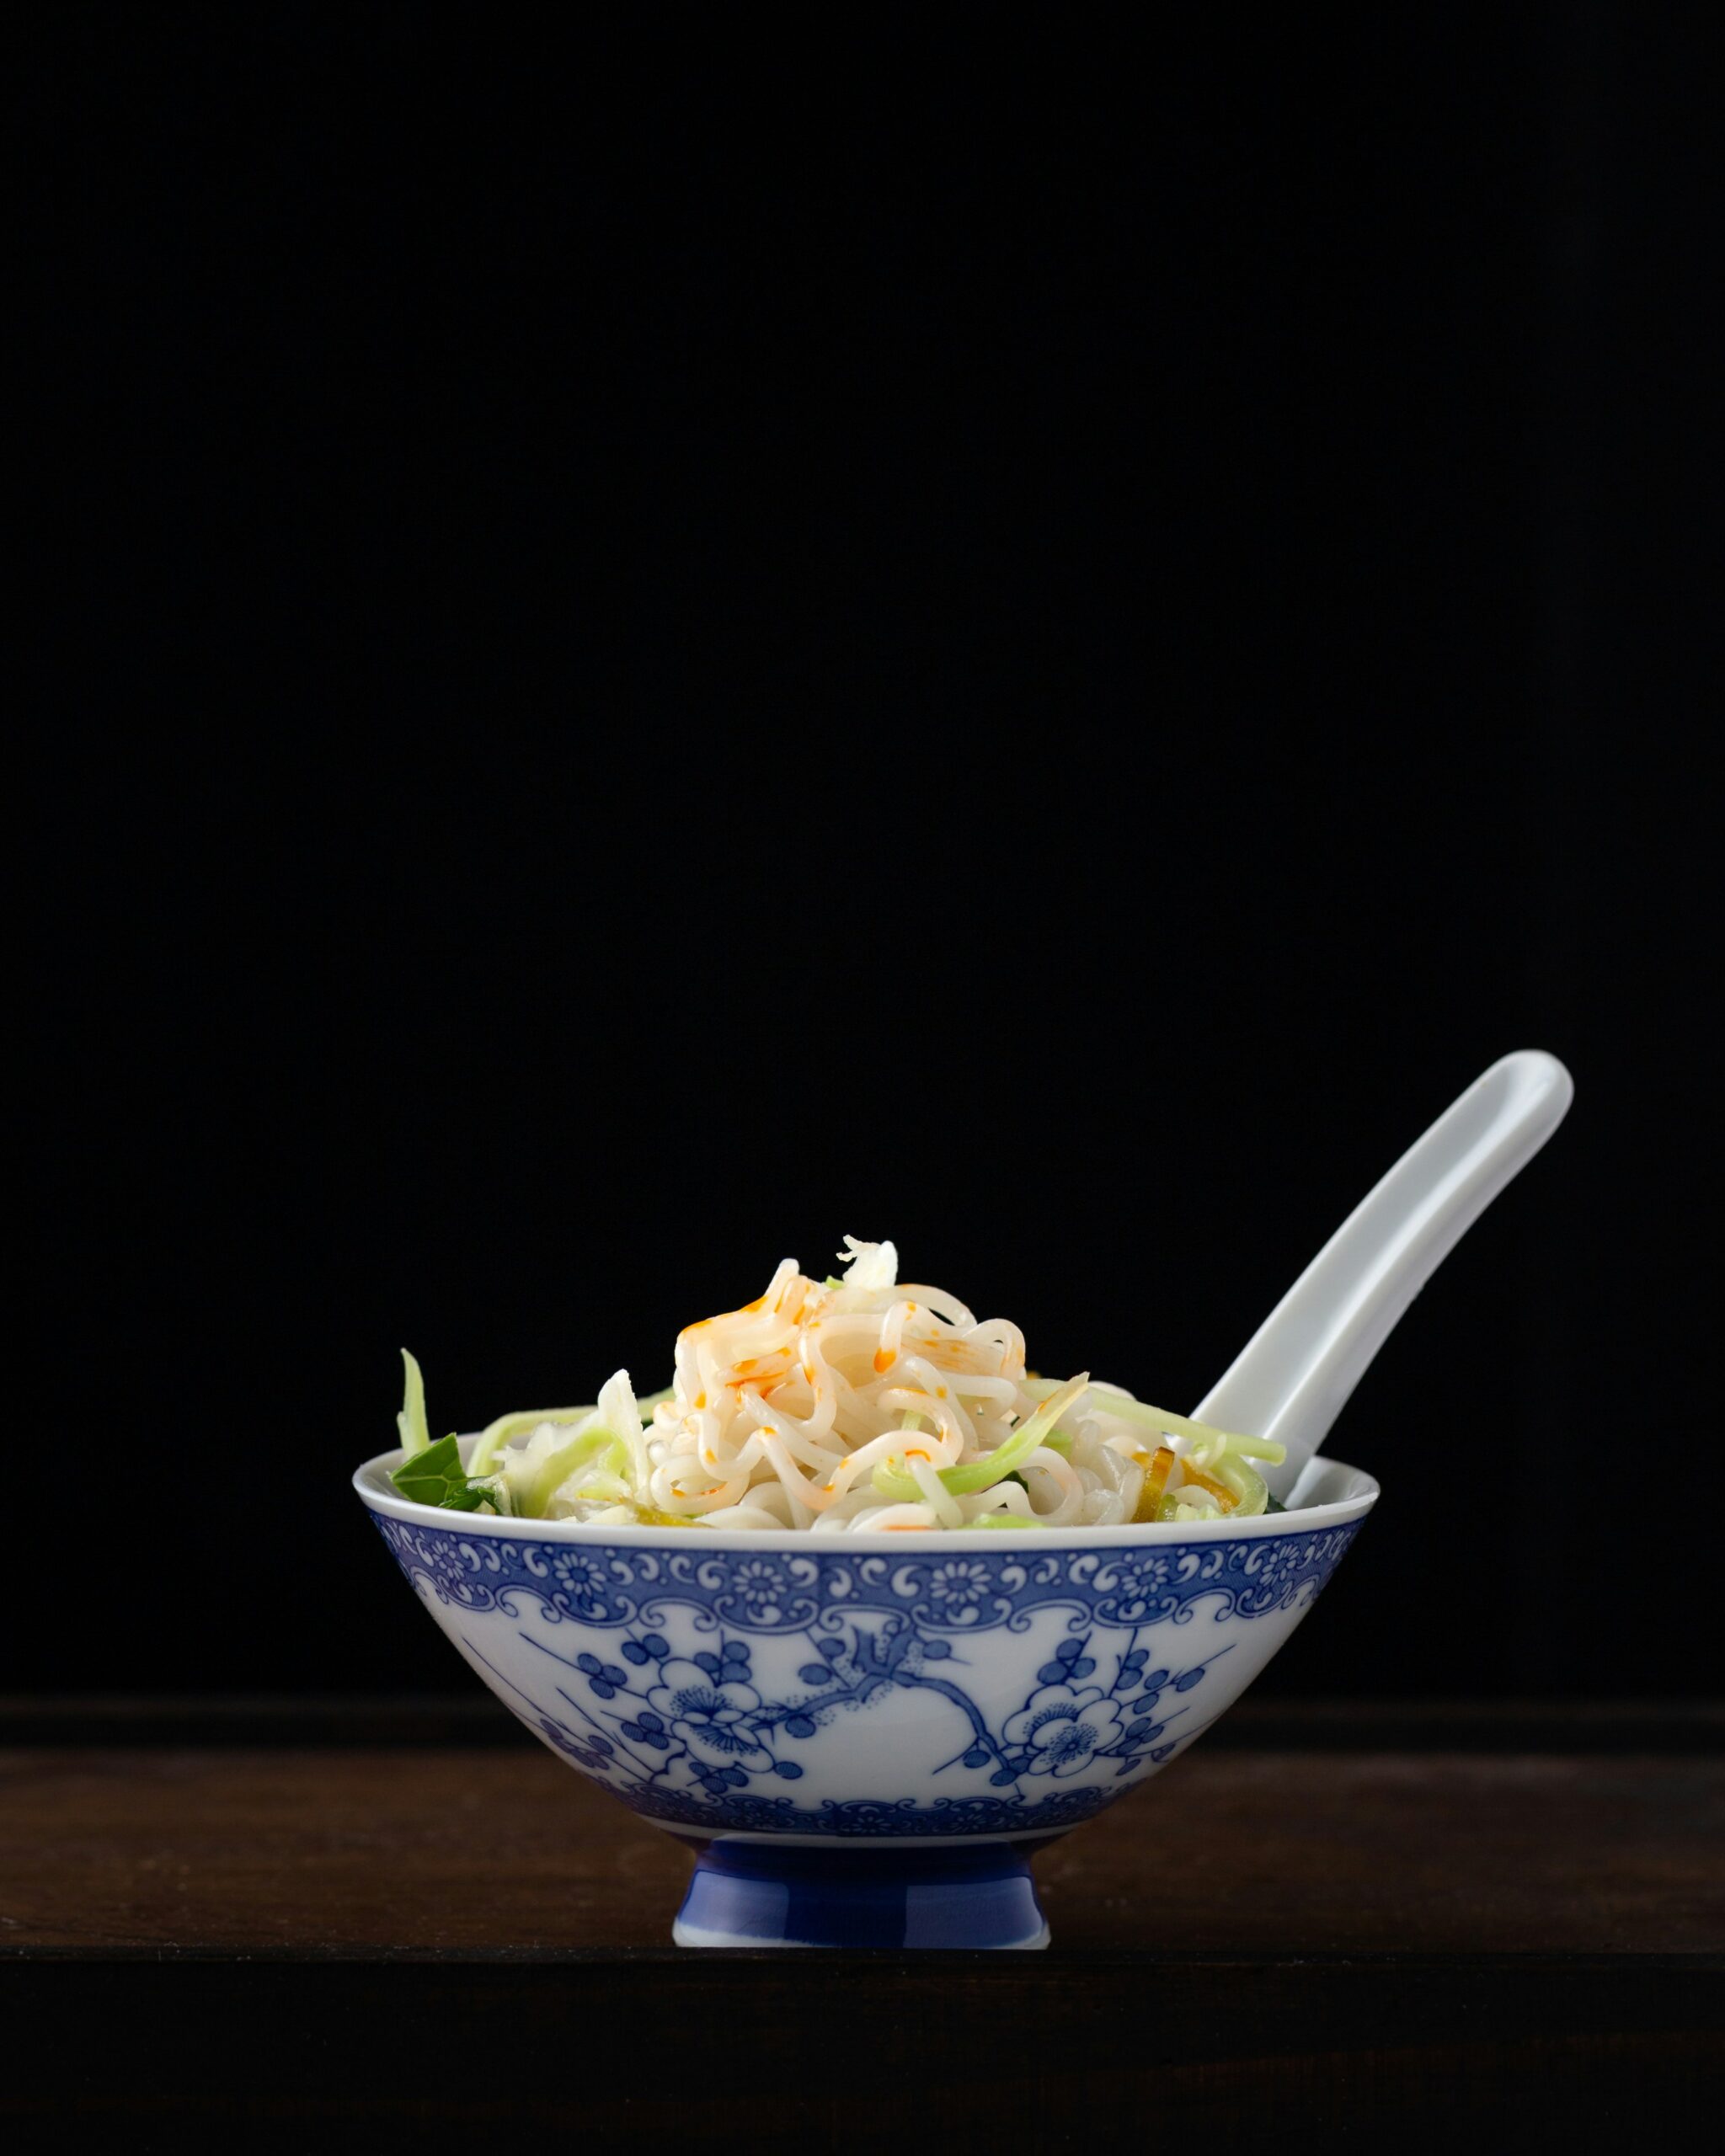
Food photography is a fun and creative way to showcase your culinary creations. Whether you’re a food blogger, a home chef, or just someone who enjoys sharing your meals on Instagram, knowing how to take stunning food photos can elevate your online presence. With the proper techniques and a little practice, you can capture mouth-watering shots that will make your audience drool. Here are some simple yet practical food photography hacks to help you take Instagram-worthy meals every time.
Lighting is Everything
Good lighting can make or break a food photo. Natural light is always the best option, so set up your shot near a window if possible. The soft, diffused light that comes through a window helps bring out your food’s natural colors and textures. Avoid harsh direct sunlight, as it can create harsh shadows and overexposed spots, ruining the overall look of your dish.
If you don’t have access to natural light, you can still create great shots with artificial lighting. Use a soft light source, such as a ring light or a lamp with a daylight bulb. Position your light at a 45-degree angle to your dish, and experiment with the distance to achieve the perfect balance of shadows and highlights. Remember, the goal is to make your food look as appetizing as possible, so adjust your lighting until you get it just right.
Composition Counts
How you arrange the food on your plate and frame the shot significantly affects the final image. A clean, simple composition is often the most effective, so avoid overcrowding the plate with too many ingredients. Use props like napkins, utensils, or drinks sparingly to enhance the photo, but keep the focus on the food itself.
Consider using the “rule of thirds” when framing your shot. Imagine your frame divided into nine equal parts by two vertical and two horizontal lines. Placing the main element of your dish along these lines or at the intersection points can make the composition feel balanced and visually appealing. It also creates a sense of movement and leads the viewer’s eye through the photo, which is critical to holding attention.
Get Creative with Angles
The angle at which you shoot your food can drastically alter its perception. Different angles highlight different aspects of your dish, so experiment with various perspectives to find the best one. For example, top-down shots are perfect for showcasing plates with multiple items, like salads or bowls, as they give a complete view of the dish.
On the other hand, side or 45-degree angle shots are ideal for capturing the height and layers of a meal. This works particularly well for stacked dishes like burgers, cakes, or sandwiches, where you want to showcase the textures and fillings. Don’t be afraid to play around with angles; it can add depth and interest to your photos.
Edit to Perfection
Even the best food photos can benefit from a bit of editing. You don’t need advanced editing software; simple apps like Lightroom or Snapseed can work wonders. Start by adjusting the exposure to ensure your photo isn’t too dark or bright. Then, tweak the contrast to make the colors pop and enhance the textures.
Don’t overdo it with filters, as they can distort the food’s natural colors. Instead, make subtle adjustments to bring out the vibrancy of the ingredients. If necessary, crop the image to remove distractions or to center the dish. You can elevate your food photo with a few edits and make it stand out on social media.
Focus on Details
Food photography is about capturing the textures, colors, and small details that make your dish unique. Pay close attention to the little things, like the shine on a sauce, the crispness of vegetables, or the light hitting a perfectly fried egg. These details can make your photo look more professional and enticing.
One way to emphasize texture is by using a shallow depth of field, which creates a blurry background and sharpens the focus on the food. You can achieve this effect using a wide aperture on your camera or smartphone. If you’re shooting with a phone, you can tap on the screen to focus on a particular part of the dish, ensuring the most critical details are sharp and clear.
Experiment with Props and Backgrounds
While the food should always be the show’s star, the background and props you use can enhance the overall aesthetic. Consider using wooden cutting boards, textured linen napkins, or ceramic plates for a rustic or natural vibe. Opt for minimalist white plates or simple glassware for a clean, modern look.
Make sure the background complements the dish without stealing the spotlight. A cluttered background can distract from the food, so choose a simple, neutral-colored backdrop. If you want flair, you can frame the dish with small details like fresh herbs, spices, or garnishes. Just remember that less is often more when it comes to food photography.
Use the Right Equipment
While you don’t need professional camera gear to take great food photos, having the right equipment can make the process easier and more effective. A smartphone with a good camera can produce stunning results, mainly if you use it with the tips above.
For those looking to take their food photography to the next level, a DSLR or mirrorless camera offers more control over settings like aperture, shutter speed, and focus. A tripod is also helpful to ensure steady shots and avoid blurry images, particularly in low-light situations. Whether using a phone or a camera, a little extra attention to detail can make all the difference in capturing that perfect food photo.
By following these food photography hacks, you’ll be well on your way to capturing Instagram-worthy meals that will have your followers asking for more.